DIY Garage Mobile Workbench / Miter and Table Saw / How I Built In 10 Steps
1 min read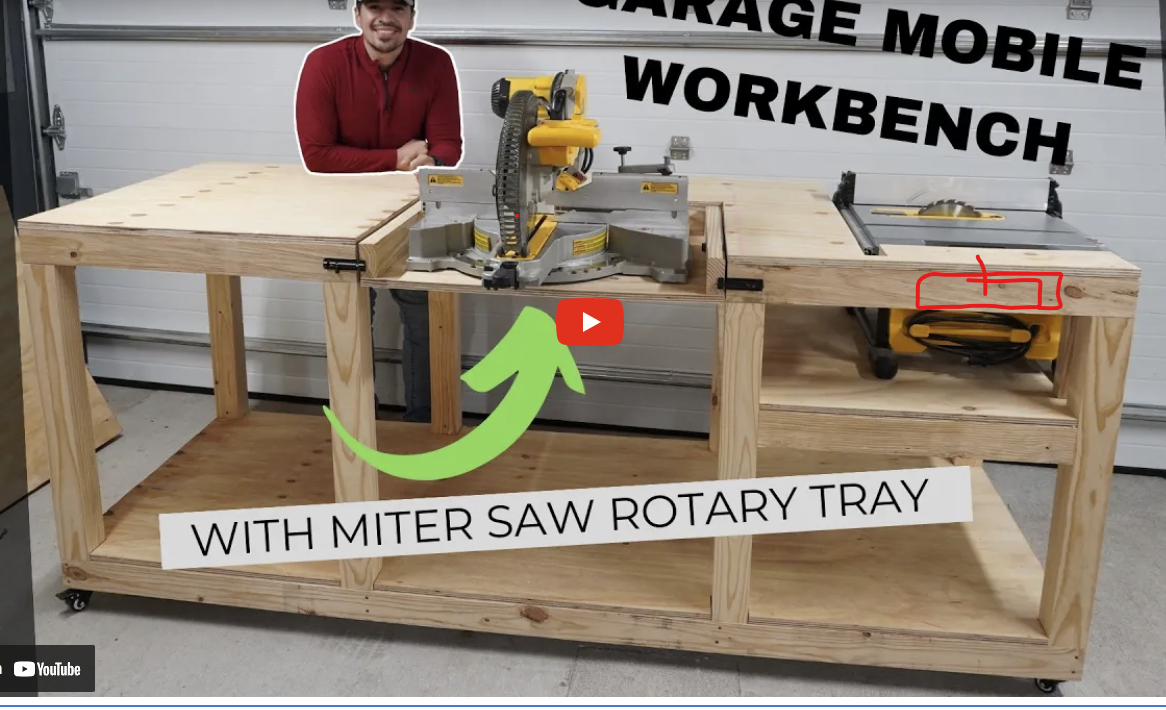
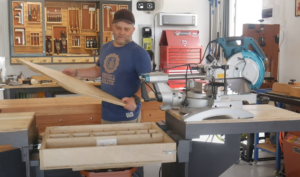
I am calling this my ultimate mobile workbench for all my future projects at the house as I continue to renovate my 1930s home. Hopefully you enjoy this video and give it a thumbs up. If you enjoy this type of content, subscribe to the channel…there is definitely more to come. Links to products I used: 2x4x8 – https://www.lowes.com/pd/2-in-x-4-in-… 3/4″x 4×8 – https://www.lowes.com/pd/Plytanium-23… 3-1/8″ GRK Screws – https://www.lowes.com/pd/GRK-9-x-3-1-… 2-1/2″ GRK Screws – https://www.lowes.com/pd/GRK-9-x-2-1-… 2″ Caster Wheels – https://www.amazon.com/ASHGOOB-Caster… Latch Locks – https://www.amazon.com/gp/product/B08… 1/2″x 4″ Bolts – https://www.lowes.com/pd/Hillman-1-2-… 1/2″ Lock Nuts – https://www.lowes.com/pd/Hillman-1-lb… 1/2″ Washers – https://www.lowes.com/pd/Hillman-1-lb… You can use 1-1/4″ to 1-1/2″ wood screws and washers to secure the miter saw to the tray. Just ensure they do not protrude through the other side of the plywood. Timecodes 00:00 – Intro 01:18 – Lumber 01:44 – Hardware 03:26 – Prepping Lumber for Installation 04:51 – Step 1 – Framing the Base 06:12 – Step 2 – Frame the Legs 11:41 – Step 3 – Install the Bottom Plywood 14:58 – Step 4 – Frame the Table Saw Section 16:51 – Step 5 – Install Plywood for Table Saw 17:17 – Step 6 – Frame the Top Section 18:20 – Step 7 – Install Top Plywood 18:32 – Step 8 – Cut Miter and Table Saw Sections 19:38 – Step 9 – Frame Miter Saw Rotary Tray Section 22:44 – Step 10 – Install Hardware & Casters 23:26 – Final Product